You know what this site is missing? A blog post on the process of getting your comics printed. That’s what it’s missing. That seems like something that needs fixing.
Step one – Get a quote.
Yeah, it’s that bit of the post where I shovel you towards the quote form again. Let’s just get through it, shall we? Clicky clicky here and tell us what you’re after.
I like the quote. What now?
Now you’ll be needing to get your artwork ready for print. We can help with that – it’s sort of our thing. The best place to start is with the appropriate template for your size and binding. If you need a custom size, or a perfect bound cover template, or if you’re having trouble making sense of how to use them, then drop us an email and we’ll sort you out.
Once you’ve got all your artwork finished and fitted to your templates it’s time to get it over to us. There are a couple of options here:
- Supply artwork as a PDFIf you’re supplying a PDF you’re probably working in indesign, which is ideal for creating print ready PDFs if you know which settings to use. I suggest getting in touch and asking for a copy of our PDF settings (I’d put them up here, but wordpress won’t host them “for security reasons”…) If you’d rather set the preset up yourself that’s fine – there’s some guidance on doing that very thing right here.At the risk of repeating some of the info in the earlier post, you need to tell ID about your bleeds in two specific places: when setting up the document (at the bottom of the document setup page in a collapsible menu called “Bleed and Slug”) and again when you export in a sub-menu of the PDF Export dialog. There are pictures in the other post – go have a look.If you followed the instructions right you now have a PDF that should be print ready and can skip to the next header.
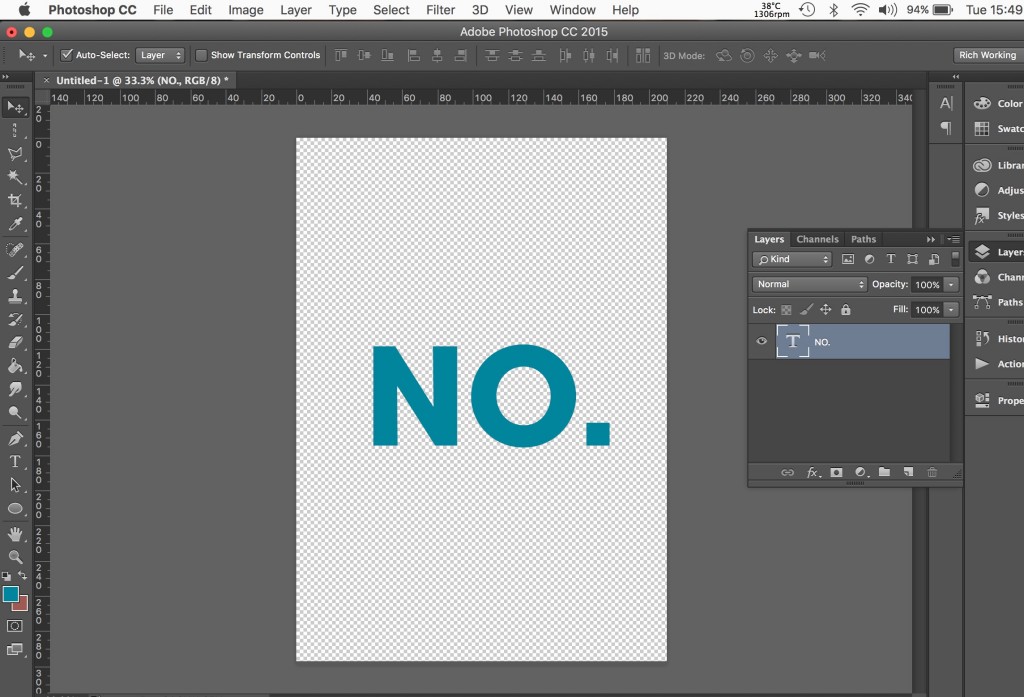
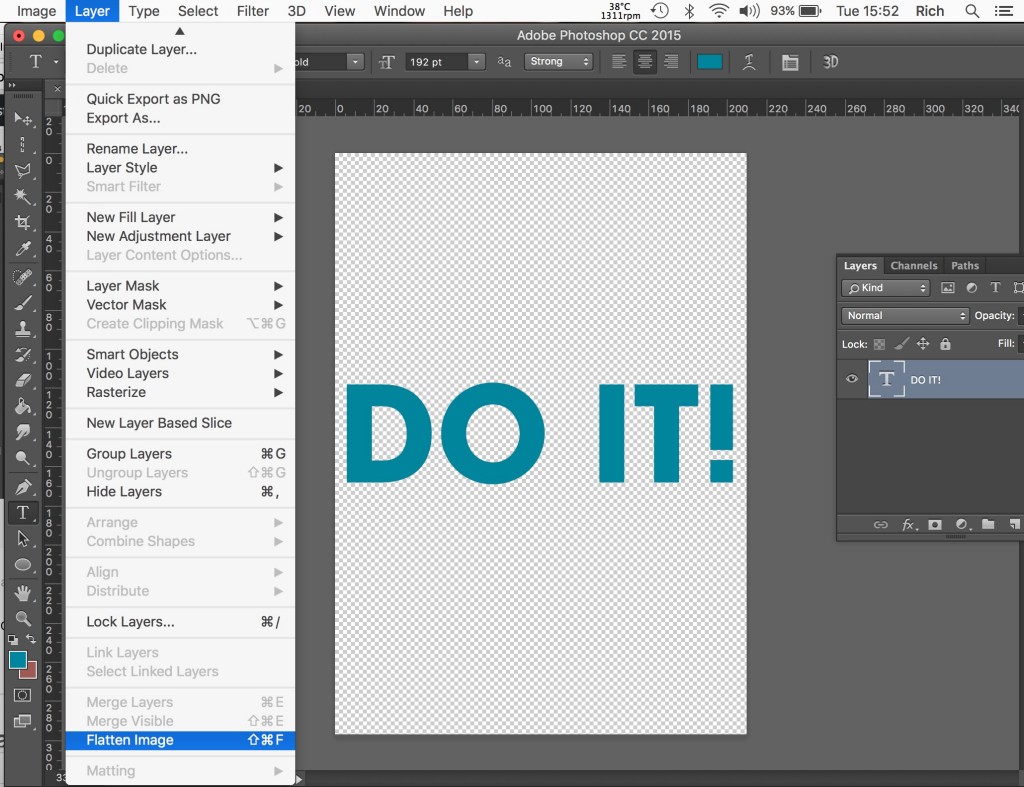
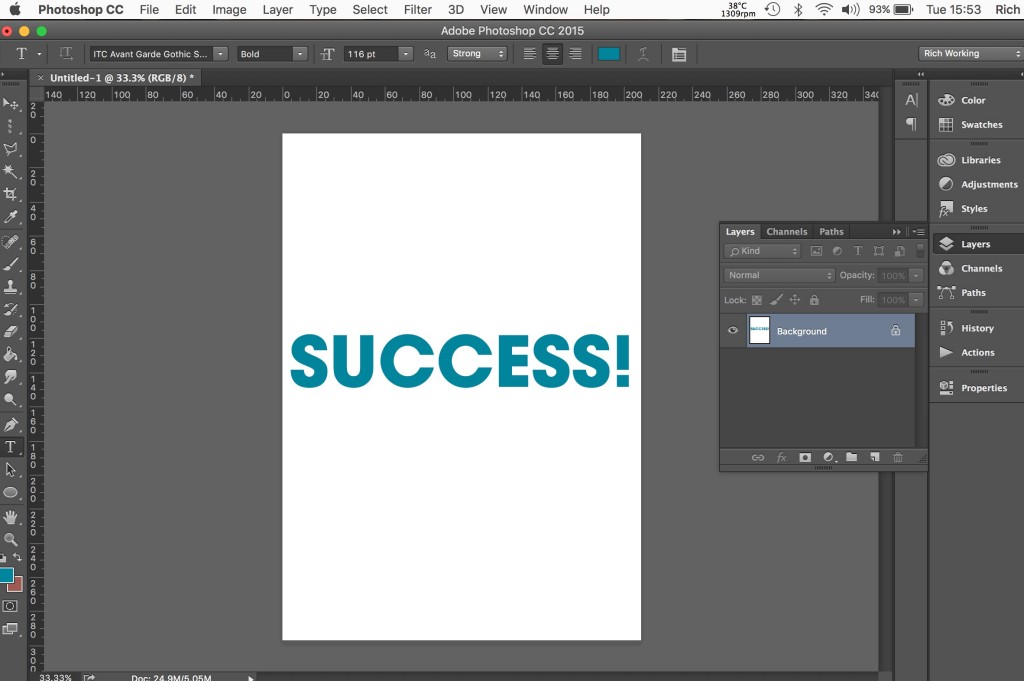
- Supply artwork as individual files.Also a good option. Probably actually my preferred option, to be honest, because it means I get to put the PDF together (which reduces the chances of mistakes, because I’ve done this so many times that I do the motions in my sleep…)In this case the likelihood is that you’ve been working in Photoshop or equivalent image editing software. You’ll have (depending on your comic) a selection of single pages and spreads, all with the correct bleeds, naturally, because you’ve been reading and followingthe advice to the letter. These files will likely be *massive*. Which is fine to a point, but there are some things you can do to reduce the size without losing quality:a) Flatten the images. This is absolutely the first thing you should do. There’s no benefit in having layers on a finished page – in fact it can make them print funny because of transparency issues – and layered files are, according to scientists, one billion times bigger than flattened files.
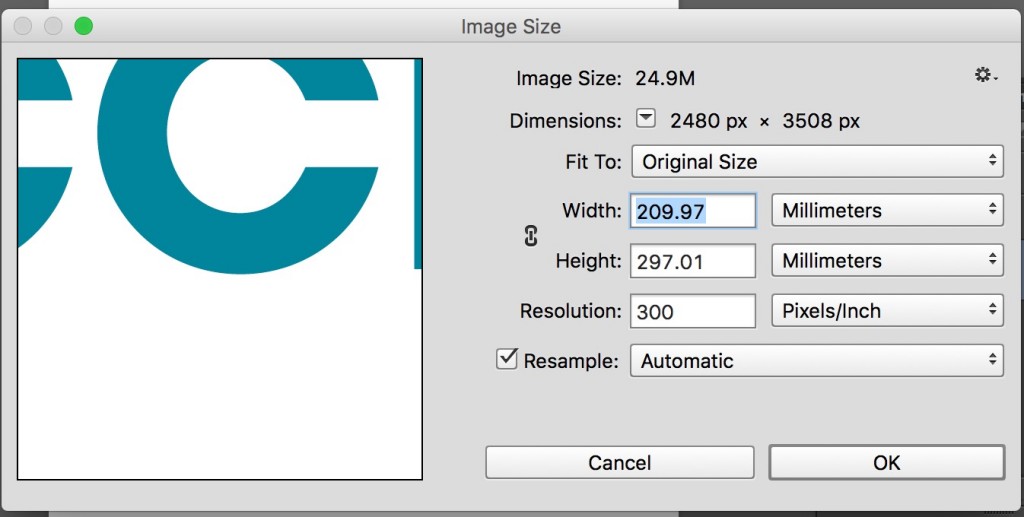
b) If the files are still really massive you’ve probably got them saved at 600+ DPI. That’s nice, really. Honestly, it is. But we don’t need it. It’s like swatting an annoying fly by blowing up the wall it’s landed on: technically you’ve fulfilled the criteria and achieved your goal, but there was a simpler way to do it… Unless you can see a degradation of quality on screen when you downsample just for heaven’s sake drop your resolution to 300DPI (no lower – that will cause you problems). I promise that the world will not fall in (and you can always keep a 600dpi version as a backup just in case).
Usually you want the tickybox unticked. But in this case you’re downsampling to 300dpi, so tick the tickybox.
To make sure that we get the files in the right order when we’re putting the PDF together you want to name them with a helpful naming convention. May I suggest numbers? Numbers are great, because they go in a pre-agreed order that everyone understands. I love numbers. Start at 01 for the front cover and proceed from there (unless you’ve got perfect bound or spread covers, in which case separate them out and number them COVER01 etc).
I have my files. How do I give you my files?
You could email them, but if they’re print-ready they’re probably too big to fit on one email (and neither of us wants you to send me 30 emails with attachments). What I would do is zip ’em up and send them over to us using a file transfer site (my favourite is wetransfer.com, which is simple to use and can handle up to 2gig at once on the free service).
What next?
Go have a cup of tea, or maybe go for a run or something, because you’re not really involved in the next bit. What happens now is I go through your files and fix anything that needs fixing, dot the “t”s, cross the “i”s, realise that should have been the other way around, silently curse, redo that last bit and eventually produce a PDF proof for your approval. I’ll send that over to you and sit tight until I have written email confirmation of the following things:
- You’re happy with the proof.
- You’re happy with the price, and understand what you’re getting for it.
- You have an address that I can send your stuff to when it’s printed.
At this stage, if you’re a new customer or have been… less than prompt about your payments in the past… you might be asked for a deposit toward the printing costs. Please don’t be offended: the vast majority of people are really good and pay their bills on time, but this is a small operation, and if there’s too much outstanding debt then people ain’t getting paid.
From there, we push to production: print, trim, finish, box, label, hand to courier, wave wistfully with a tear in our eyes, and await your email confirming that you’ve had the comics and you’re just so gosh-darned happy with them you could spit.
Then if you’re a regular customer (in which case why are you reading this? Go make a comic or something) there’ll be a period of somewhere between a day and two months before I get around to invoicing you, because I hate invoicing and only do it when I have to.
And that’s the process.
A brief aside on the subject of proofs.
- The vast majority of our proofs are PDF proofs, because they’re faster and involve less overhead. We can produce a physical proof for you (on digital work only – a litho proof is worse than useless for comics) but this adds a couple of days to your lead time and comes at a flat cost of £20. Sometimes it’s worth it – I’ll generally try and steer you in the direction I think is most appropriate.
- I try really hard to get PDF proofs back to you the same day as you get the files to me. It’s not always possible, because I don’t work 24 hours (and I do all the print prep work myself – nobody else touches your files until they’re in production: that way you have a person to hold accountable for them) but you’ll certainly have proofs back as soon as is physically possible.
- As a bare* minimum you’ll receive a PDF proof shown in full resolution and at trim size. If you’re getting a perfect bound book done you’ll also get a proof showing the fold lines on the cover setup and a blocking proof marking out the suggested clearance from the spine using garish/festive magenta boxes.
*This post has been edited because I originally wrote “bear minimum”. There is no such thing as a “bear minimum” in comic printing. If you find yourself with a bear minimum I suggest vacating the area as quickly as is practicably possible because it has a bear in it. It should be made perfectly plain at this point that proximity to bears is generally deleterious to human health and CPUK does not condone, recommend, or advocate it. If you found yourself in close quarters to a bear as a result of erroneous information previously available on this website we offer you/your surviving relatives our sincere condolences while disavowing both personal and corporate responsibility for the results of your unfortunate misadventure. Your statutory rights are, as far as we’re aware, not affected; because bears tend not to come up in that arena.
Originally posted on Comic Printing UK and shared with permission.
- Comic Book Printing: On Bleeds and Clearance - April 11, 2019
- Comic Book Printing Templates - April 4, 2019
- How much does it cost to print a comic? - March 21, 2019
